bird plushie sewing pattern and hand embroidery tutorial
bird plushie sewing pattern and hand embroidery tutorial
Couldn't load pickup availability
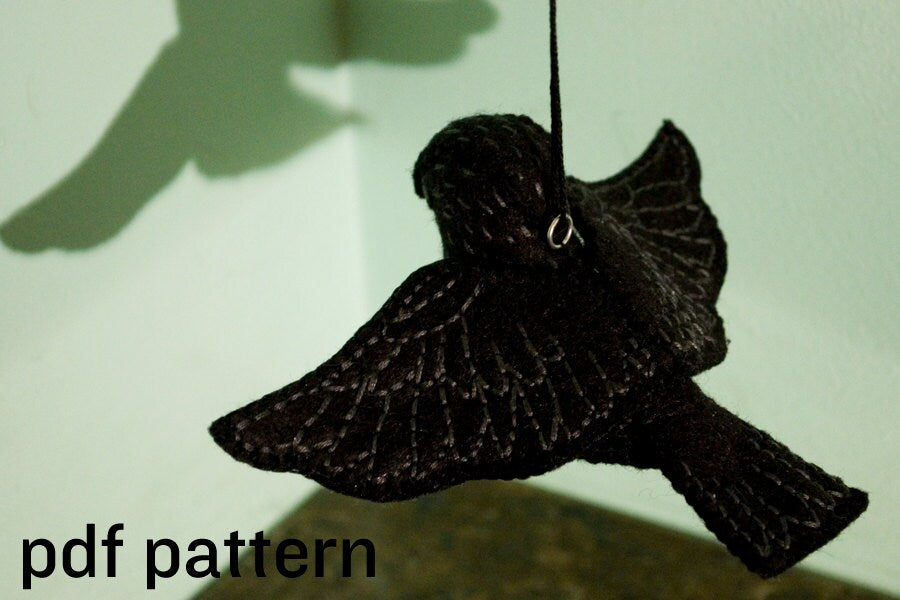
This is a combined pattern and in-depth tutorial for all of the birds shown above. It has all of the explanations needed for you to complete any one of the birds above, but it can also be a tool to design your own using my base pattern. Feel free to copy any of the designs above, mix and match the techniques, or even modify the pattern.
It also contains a guide that teaches all of the stitches I use for both the seams and the decorative embroidery and a short pdf on how to transfer designs onto felt. This pattern + tutorial may be used for selling items for commissions, but it's really nice to link back!
Mass production is prohibited. Do not share this pattern or upload it to sharing sites.
Please note that the first bird pictured is a very involved project and may take a while to complete, especially if you choose to fully cover it in embroidery. It's got all the explanations needed for beginners to experts. Every bird is a different difficulty level for those who want to work up to a fully embroidered bird. Birds will be around 5" long including the tail and 5-6" wide including the wings. They may turn out slightly smaller if you include a lot of embroidery, because a lot of thread tension may cause shrinkage.
What you'll need for this project:
i. pins, sewing needles, scissors
ii. one a4 sized sheet of wool or wool blend felt
iii. embroidery floss
iv. polyfil
v. heat transfer pen and/or tracing paper and/or tear away stabilizer
vi. o ring and hanging hooks if you want to hang them up
Please note that if you purchase this tutorial and you're stuck, I'm always available to help through e-mail! Also, if you want something added to the tutorial that I might have overlooked, please let me know!
Share